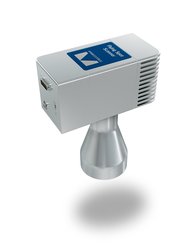
3D Confocal line sensor for high-speed inspection in smart factories
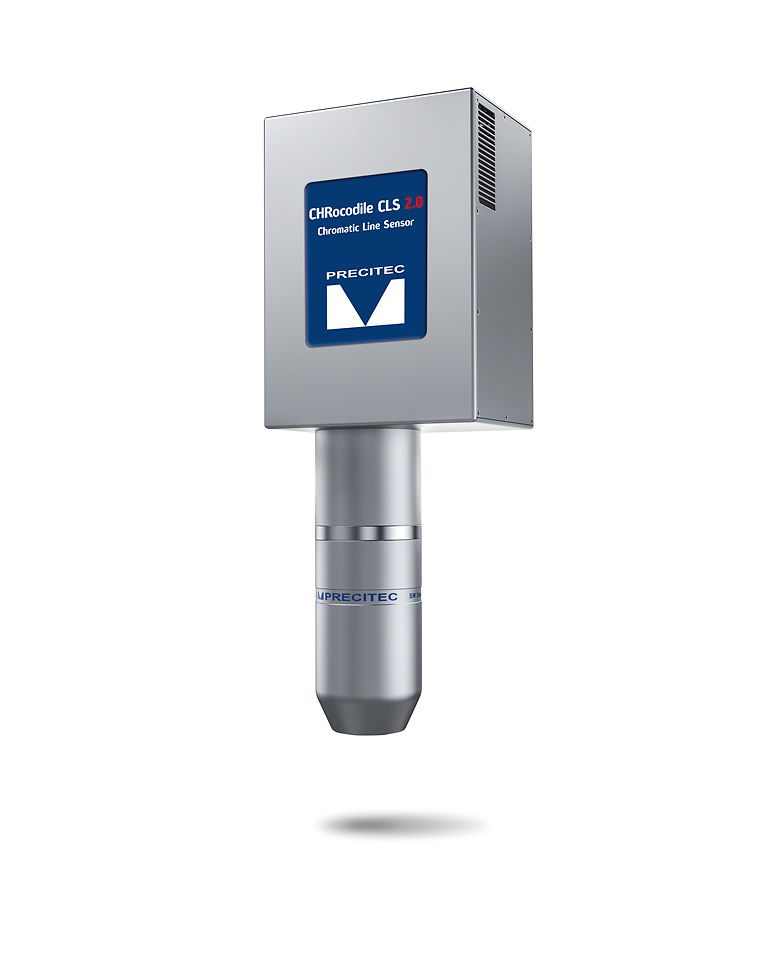
The CHRocodile CLS 2.0 enables you to measure complex surfaces with high slopes at very high speed and without shadowing. The high-speed confocal line sensor measures with utmost precision and high resolution on almost all materials, even difficult ones. Its versatility enables a wide variety of measuring tasks.
What's more, the CHRocodile CLS 2.0 helps to reduce operational costs, saves time, and ensures 100% control in industry 4.0 applications. Last but not least, the high-speed confocal line sensor CHRocodile CLS 2.0 is much smaller and lighter than alternative devices.
Applications for CHRocodile CLS 2.0 in the area of semiconductors: Wire bonding inspection, bump measurements, packaging wafer edge inspection, dicing groove inspection, defects, die cracks and photomask lithography.
More applications for Consumer electronics: Housing topography inspection, inspection of slightly, medium and highly curved surfaces, chamfer and spline inspection, diameter/hole/stepped surface inspection, cosmetic inspection with additional height data.
Advantages
- High speed, utmost precision
With its 48 million measuring points and a scanning speed of up to 40,000 lines per second, the CHRocodile CLS 2.0 is ideally suited to inline quality control applications where cycle time is critical. Besides, it delivers data with an extremely high lateral and axial resolution for ultra-precise measurements. - Great flexibility
This confocal line sensor's versatility solves a wide variety of measuring tasks, e.g. topography and thickness measurements, compositions, layers, surfaces under transparent materials, and complex geometries. Even on difficult materials, e.g. diffusive, rough, colored, polished or reflective surfaces, the CHRocodile CLS 2.0 delivers accurate results at high speed. - No shadowing
The linear set-up of the CHRocodile CLS 2.0 overlaps incoming and reflected light. So there are no problems measuring specific geometries where shadowing would be an issue with a triangular set-up. - Easily exchangeable optical probes
With various easy-to-exchange optical probes you'll have the right probe for every measuring task – with minimal effort. You can select a long line of up to 12 mm for fast inspection of large parts or a shorter line with an outstanding numerical aperture for measuring highly angled surfaces, e.g. the chamfer of a smartphone or batteries or watch display glasses. - High point densityHL: High point density
The CHRocodile CLS 2.0 scans objects at 1,200 points per line. In combination with an outstanding lateral resolution comparable to the pitch and an excellent axial resolution, one obtains measurements with a high density of non-redundant information and of highest quality.
Technical data
- Measuring rate: Up to 40,000 lines per second
- Measuring range: 680 – 10,600 µm*
- Lateral resolution: 1 - 8.5 µm*
- Synchronization with external devices: Trigger input, synchronizing output, five encoder inputs, DLL with example code
* Depends on the optical probe used
We need your consent to load the form!
We use Marketing Cloud Account Engagement (Pardot) Forms to embed content that may collect data about your activity. Please review the details and click in the Pardot box to accept the service and see the content. If the form is not displayed correctly, please click once more on Download the data sheet now.
Our service for your productivity
Commissioning 3D Metrology
Learn more
Repair 3D Metrology
Learn more
Contact Service 3D Metrology
Learn more
